If you’re looking to cancel your BeenVerified account, you’re in the right place. This guide will explain the entire process from start to finish, including cancellation methods, details about BeenVerified’s subscription plans, and essential information about refunds and alternatives.
BeenVerified is a popular online background check service, offering users access to information from public records. From finding out about someone’s criminal history to checking social media profiles or property records, BeenVerified compiles various types of data into a single report. While useful, this service often isn’t something that everyone wants on a long-term basis. If you no longer need the service or want to avoid further charges, here’s how to cancel your account easily and effectively.
What is BeenVerified? An Overview of Its Services and Plans
Before diving into the cancellation process, let’s quickly look at what BeenVerified offers. This will give you a better understanding of what you’re unsubscribing from and the potential implications of leaving the service.
BeenVerified Services and Reports
BeenVerified aggregates data from public records to provide a range of reports, including:
- Criminal Records: Includes information on arrests, convictions, and sex offender registry data.
- Address and Contact Details: Shows current and past addresses, phone numbers, and email addresses.
- Social Media Profiles: Compiles profiles from social media accounts if available.
- Property Records: Lists ownership records, property valuations, and associated addresses.
- Relatives and Known Associates: Displays individuals potentially related to or associated with the person in question.
Subscription Plans
BeenVerified offers two main subscription plans:
- Monthly Membership: $26.89 per month for unlimited searches.
- Quarterly Membership: $52.44 every three months, also with unlimited searches.
Additionally, they offer a 7-day trial for $1, but this will auto-renew into a monthly subscription if not canceled.
Each plan provides access to a maximum of 100 reports per month, allowing users to conduct multiple background checks as long as their membership is active.
Reasons for Canceling BeenVerified
Common reasons why users choose to cancel their BeenVerified subscription include:
- Completed Purpose: Many users only need BeenVerified for a specific purpose, such as checking background information for a job or verifying information about a potential tenant.
- Cost Consideration: With monthly fees at nearly $27, BeenVerified can be expensive for ongoing use, especially if not used regularly.
- Privacy Concerns: Users may wish to cancel if they’re concerned about data retention or the handling of their personal information.
- Exploring Alternatives: Other services, like TruthFinder or Intelius, offer similar data but with varying features or pricing structures.
Understanding these reasons can help clarify if canceling is the right choice for you.
Must Read : Layoffs 2024: Navigating the Changing Employment Landscape
Key Points to Remember Before Canceling
Before going through with the cancellation, here are some important details to keep in mind:
- Automatic Renewal: BeenVerified subscriptions auto-renew. Unless you cancel, you will be charged for the next billing cycle.
- Refund Policy: BeenVerified doesn’t guarantee refunds automatically upon cancellation. Refunds are decided on a case-by-case basis, typically in situations like technical issues or billing errors.
- Data Retention: Although you can cancel the subscription, personal information you’ve provided may still be retained according to BeenVerified’s privacy policy. To fully delete your data, you may need to make a separate request to customer service.
- Trial Period: If you signed up for the 7-day trial, remember that it automatically converts to a monthly membership if not canceled within the trial window.
Now, let’s get into the various methods you can use to cancel your BeenVerified account.
How to Cancel BeenVerified Account: Step-by-Step Methods
There are four main ways to cancel your BeenVerified account:
- Online via BeenVerified’s Website
- By Phone
- Through Email
- On iOS Devices via Apple ID
Each method has its unique steps and requirements. Here’s a breakdown of each process.
Method 1: Cancel BeenVerified Online

This is the quickest and most accessible method for most users who subscribed directly through the BeenVerified website.
- Log Into Your Account: Visit beenverified.com and log in with your username and password.
- Go to Account Settings: Once logged in, find the “Account Settings” option, typically located at the top-right of the dashboard.
- Locate Subscription Management: In Account Settings, look for the “Manage Subscription” or “Billing” section.
- Cancel Subscription: Click on the “Cancel Subscription” option and follow the on-screen prompts to confirm the cancellation.
- Receive Confirmation: BeenVerified should send a confirmation email after you’ve canceled. Keep this email as proof of cancellation.
Important Tip:
It’s crucial to check for the confirmation email. If you don’t receive one, contact BeenVerified’s support team to ensure your account has indeed been canceled.
Method 2: Cancel BeenVerified via Phone

If you prefer speaking to someone directly, canceling by phone is a good option.
- Call BeenVerified Customer Service: Dial 1-866-885-6480 to reach BeenVerified’s support line.
- Provide Account Details: Have your membership ID, registered email, and any relevant billing information ready.
- Request Cancellation: Ask the representative to cancel your subscription. They may inquire about your reasons for cancellation.
- Confirm Cancellation: Request that they send you a cancellation confirmation via email to avoid misunderstandings.
Note:
Customer support is typically available during business hours. Check BeenVerified’s website for their current support availability.
Method 3: Cancel BeenVerified via Email
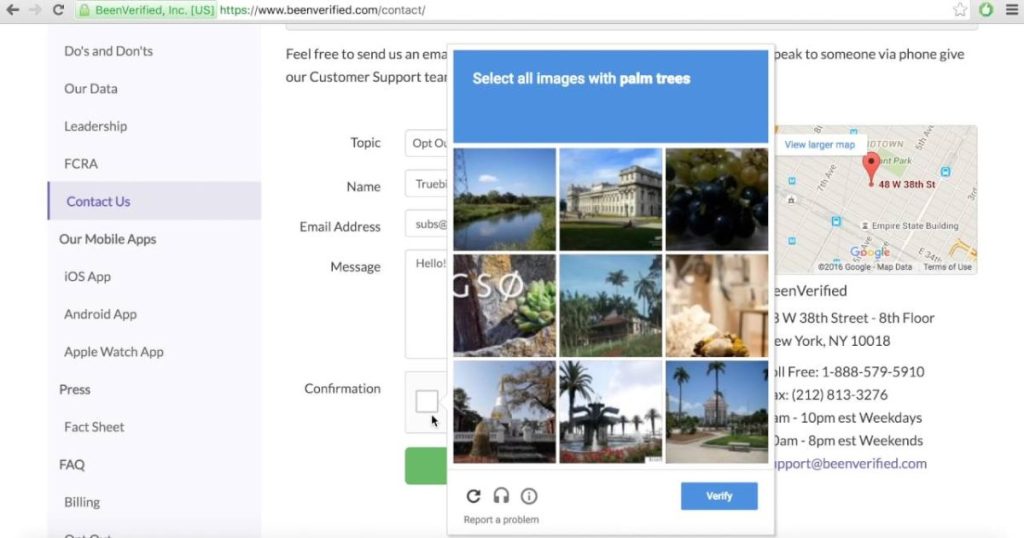
Canceling via email is another convenient method, though it may take a little longer for the request to be processed.
- Write a Cancellation Email: Email BeenVerified at support@beenverified.com. Include your name, account email, membership ID, and any pertinent information about your account.
- State Your Request Clearly: Mention explicitly that you’d like to cancel your BeenVerified subscription and, if applicable, request a refund.
- Wait for Confirmation: Typically, BeenVerified’s support team will respond within 1–2 business days. Save their reply as proof of cancellation.
Must Read : make1m.com: Your Guide to Making Your First Million Online
Method 4: Cancel BeenVerified on iOS (Apple ID)
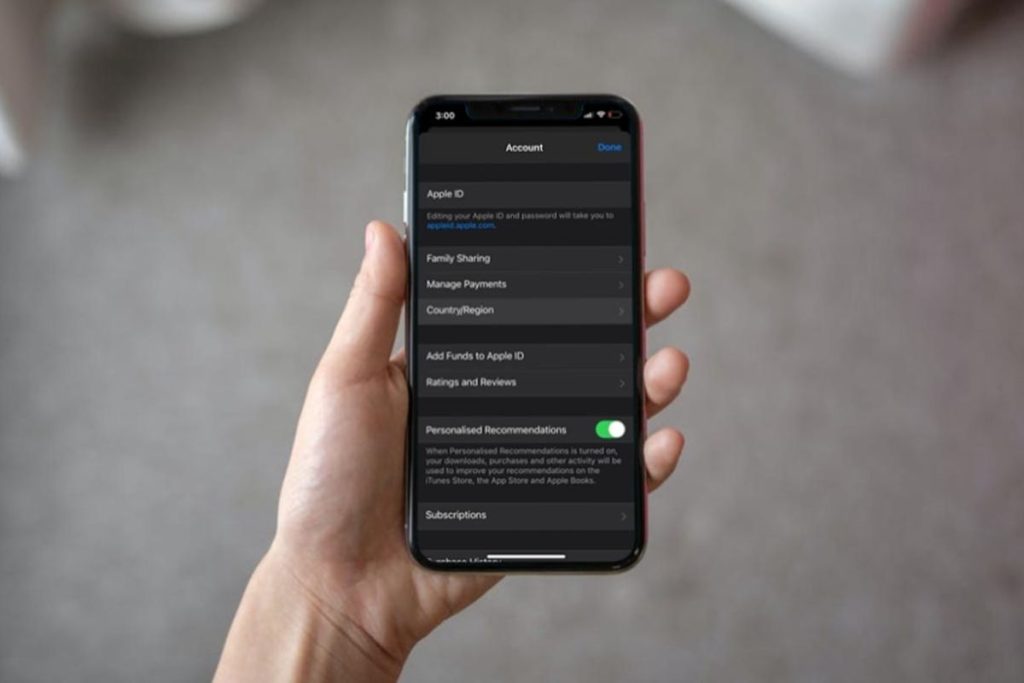
If you subscribed via the App Store on an iPhone, you’ll need to cancel through Apple directly.
- Open Settings on Your iPhone: Go to your device’s settings, then tap on your Apple ID (at the top of the settings menu).
- Select Subscriptions: Tap “Subscriptions” to see all active subscriptions.
- Find BeenVerified: Locate BeenVerified in the list of subscriptions.
- Tap Cancel: Click “Cancel Subscription” and follow the prompts to confirm the cancellation.
Tip:
For subscriptions managed by Apple, refund policies are handled by Apple directly, not BeenVerified. If you believe you’re eligible for a refund, contact Apple Support.
How to Cancel a BeenVerified Free Trial
If you’re using the 7-day trial, it’s essential to cancel before the trial ends to avoid being charged for the full monthly plan. The cancellation process is the same as a regular subscription; however, ensure you do this at least 24 hours before the trial expires to prevent automatic renewal.
Refund Policy: Will You Get Your Money Back?
BeenVerified does not automatically refund users upon cancellation. Here’s a closer look at the refund policy:
- No Automatic Refunds: Canceling doesn’t automatically guarantee a refund for any unused time.
- Case-Specific Requests: Refunds are considered on a case-by-case basis, often in cases of technical issues or billing errors.
- Customer Support Contact: If you need a refund, it’s best to contact BeenVerified’s customer support directly to explain your situation.
In short, a refund isn’t guaranteed but can be requested if you feel it’s warranted.
Alternatives to BeenVerified: Similar Services to Consider
If you’ve found BeenVerified’s services lacking or want a change, here are some popular alternatives for background checks and public records:
- TruthFinder: Known for deep web searches and dark web monitoring, it provides a comprehensive background check service.
- CheckPeople: Offers basic background checks at a lower price point and is relatively easy to use.
- Intelius: Provides detailed reports with background check, people search, and criminal records, similar to BeenVerified.
- Whitepages: A longstanding service, Whitepages offers both free and paid options for public record searches.
These alternatives offer various features and pricing models, so it’s worth exploring which one best suits your needs.
Frequently Asked Questions
How long does it take to cancel BeenVerified?
Most cancellations, especially online or via the phone, are processed immediately. Email requests may take up to 1–2 business days.
Will I receive a confirmation after canceling?
Yes, you should receive a confirmation email verifying your account has been canceled. This confirmation is essential to avoid billing errors.
How can I stop auto-renewal charges?
Canceling your BeenVerified account before the billing cycle ends will stop future auto-renewal charges.
Final Thoughts
In summary, canceling your BeenVerified account doesn’t have to be complicated. Whether you choose to cancel online, by phone, email, or through your Apple ID, each method provides a straightforward way to manage your subscription. Before you proceed, remember to verify the cancellation with a confirmation email to ensure your account is fully closed. Additionally, if a refund is essential, don’t hesitate to reach out to BeenVerified’s customer support to discuss your options.
Ultimately, whether you’re looking to save money, prioritize privacy, or try a different service, following these steps will help you cancel your BeenVerified account smoothly and confidently.


